
Loading — Real Estate Photography Training
Loading — Real Estate Photography Training
Real Estate Photography — Education
A disciplined, repeatable system for premium real estate photography — without premium-priced equipment. Eight lessons. One complete workflow, RAW file to client-ready image.
SCROLL TO SEE THE WORKFLOW ↓
Before Your First Shoot
Start with a practical field guide built to help you prepare, shoot, and deliver your first real estate listing with fewer missed steps.
Watch First
No sales fluff. Just a look at the workflow you'll actually learn.
Every lesson follows the same rule: if a step doesn't help you finish faster or more accurately, it isn't in the course.
More on YouTube →Core Philosophy
REPT sits between beginner tutorials and expensive luxury education — professional results, built on affordable equipment and disciplined technique.
Architecture is the subject; photography serves it.
Accuracy before artistic excess.
Consistency beats occasional brilliance.
Simple systems outperform complicated techniques.
Professionalism is shown through preparation, reliability, and communication.
Editing should enhance reality — not fabricate it.
How You'll Learn
Every module follows the same five steps — so the workflow becomes automatic, not memorized.
Understand why a technique exists before you use it.
Watch the full capture happen on a real property.
Every decision is tied back to the result it produces.
Turn the technique into a repeatable step in your process.
Practice the system until shortcuts stop being tempting.
The Big Difference
This is the actual edit — ambient exposure to final result — the exact sequence taught in the course.
Most tutorials bury the workflow in opinions about style. This course skips it — a tested sequence that gets you to a finished, sellable image in under an hour.
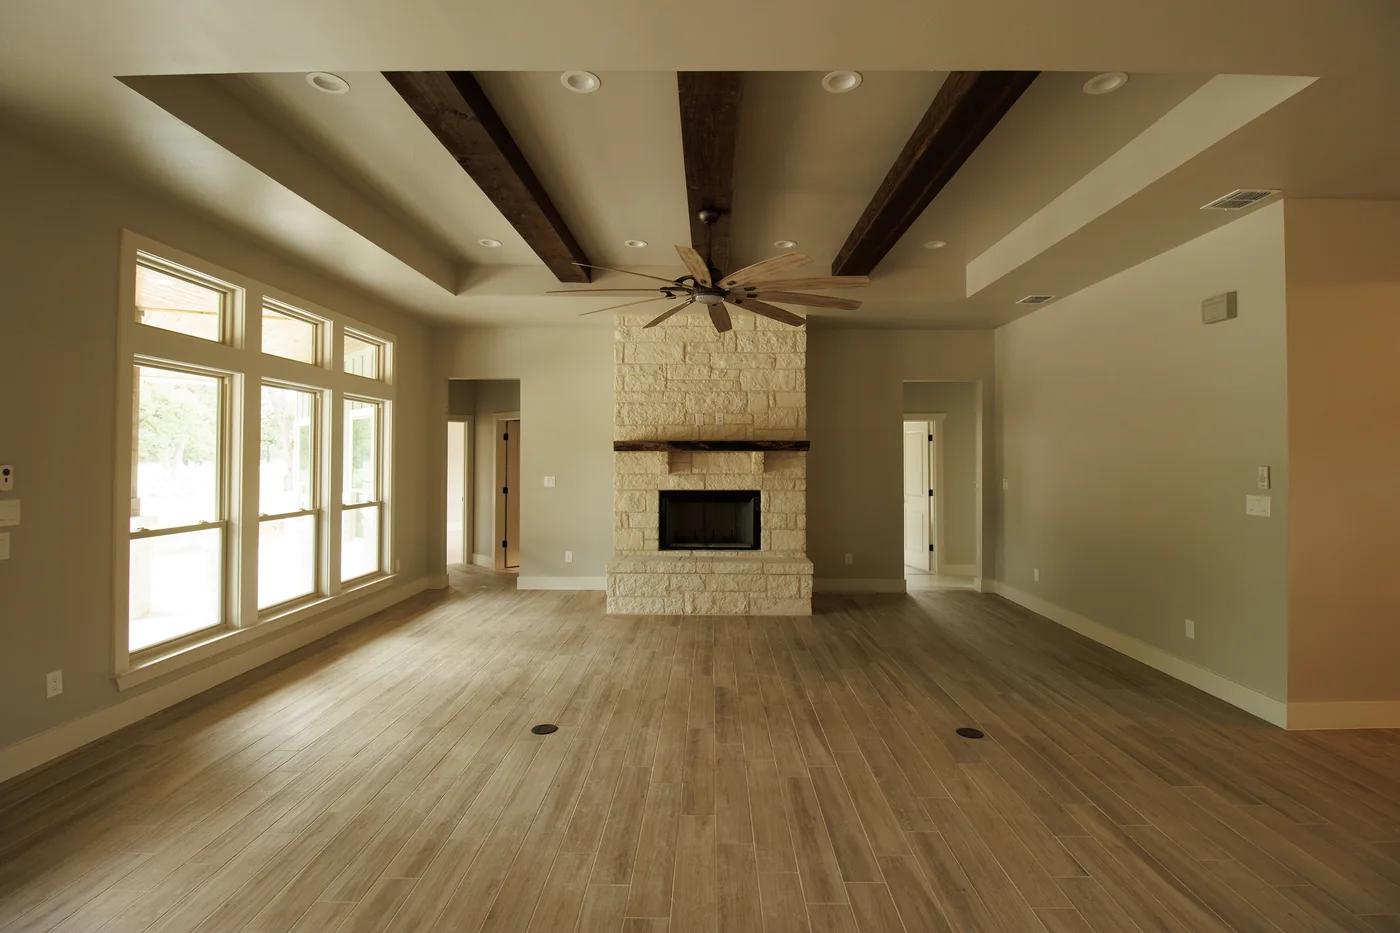
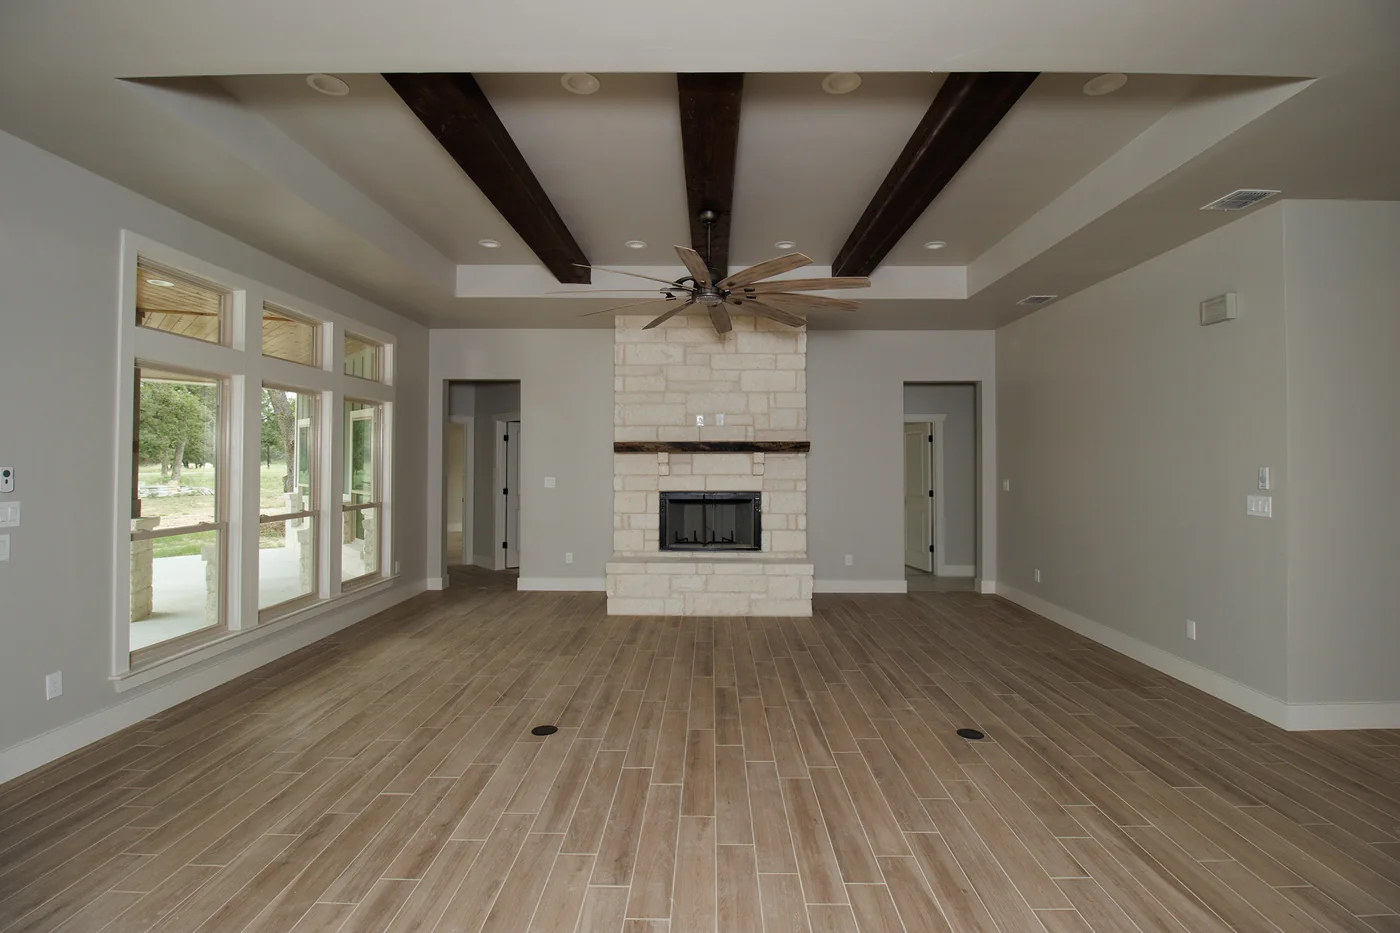
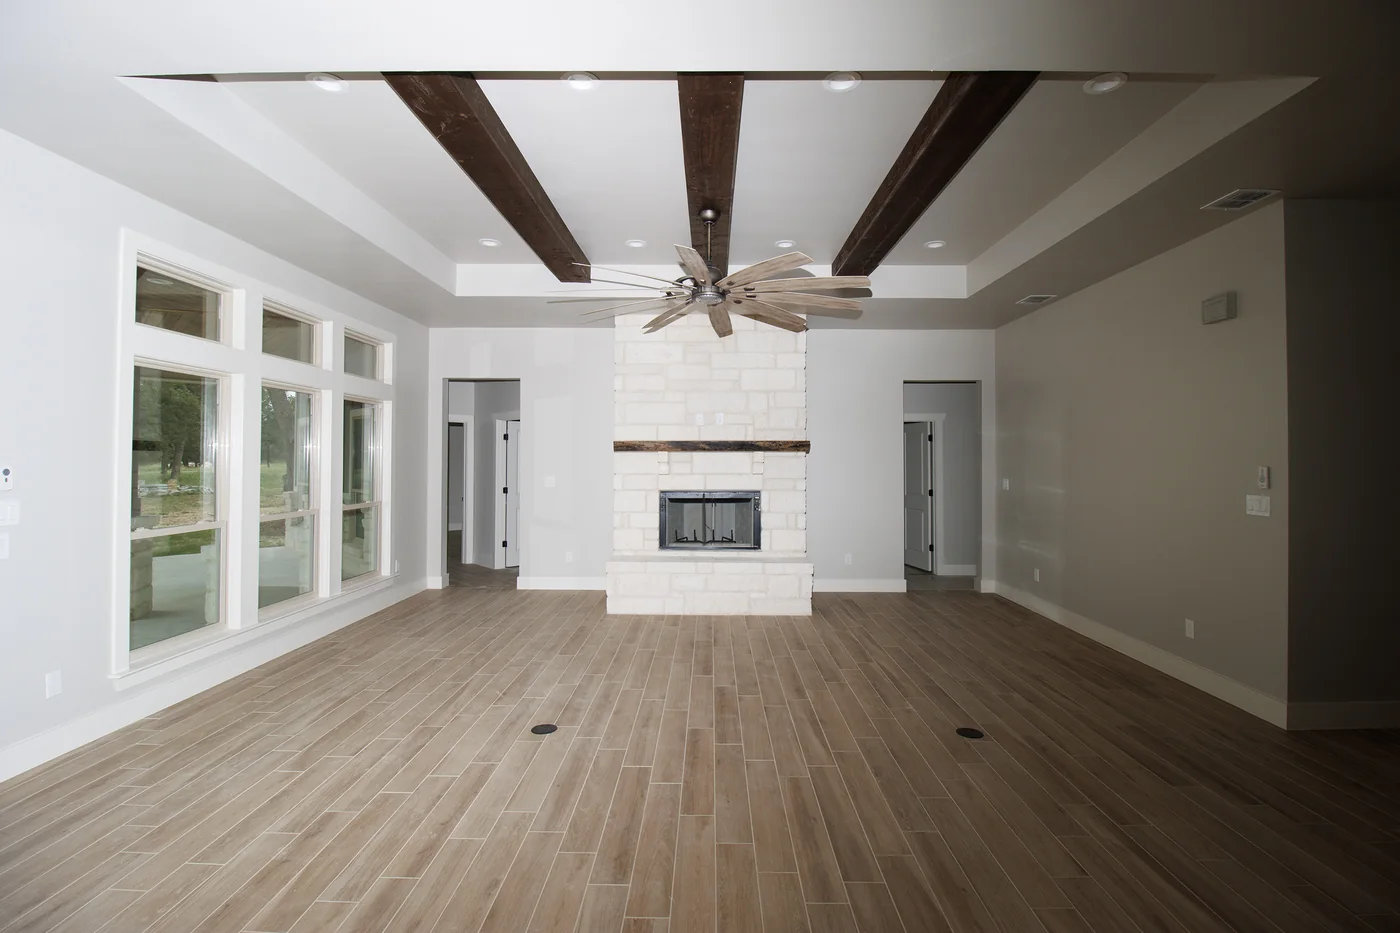
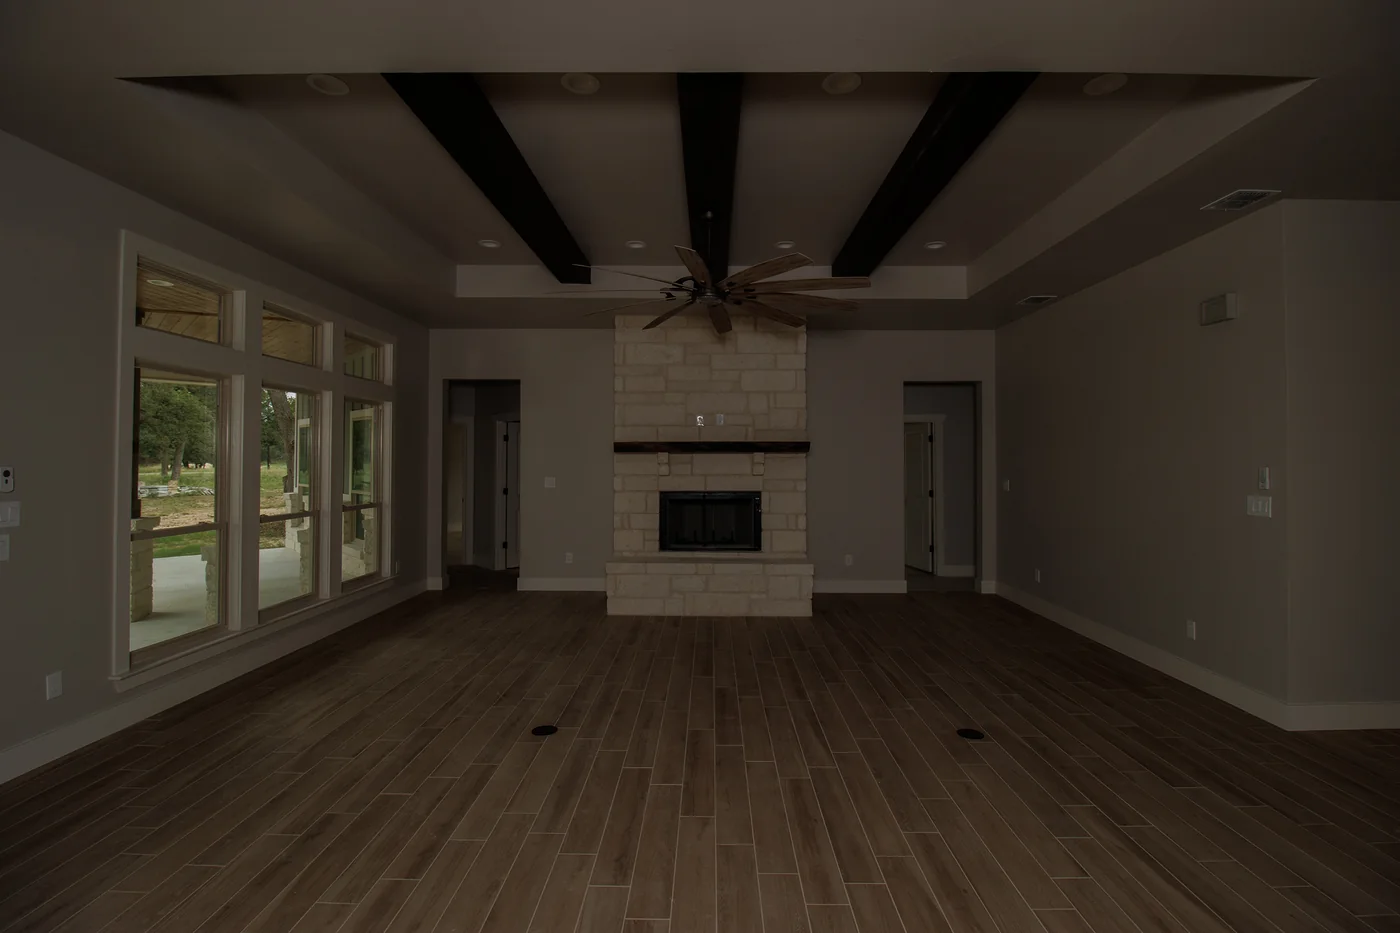
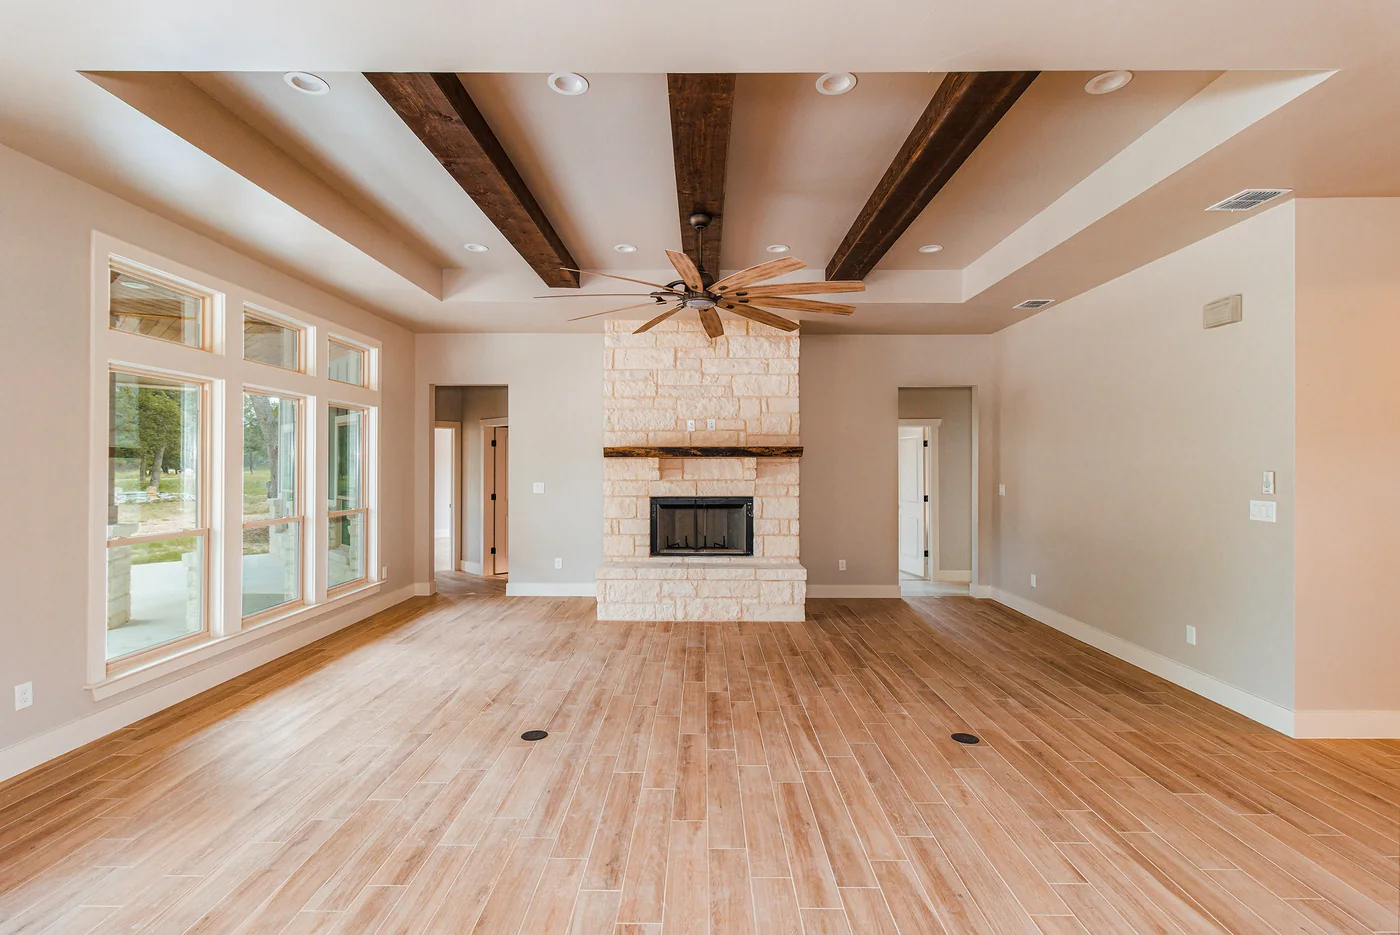



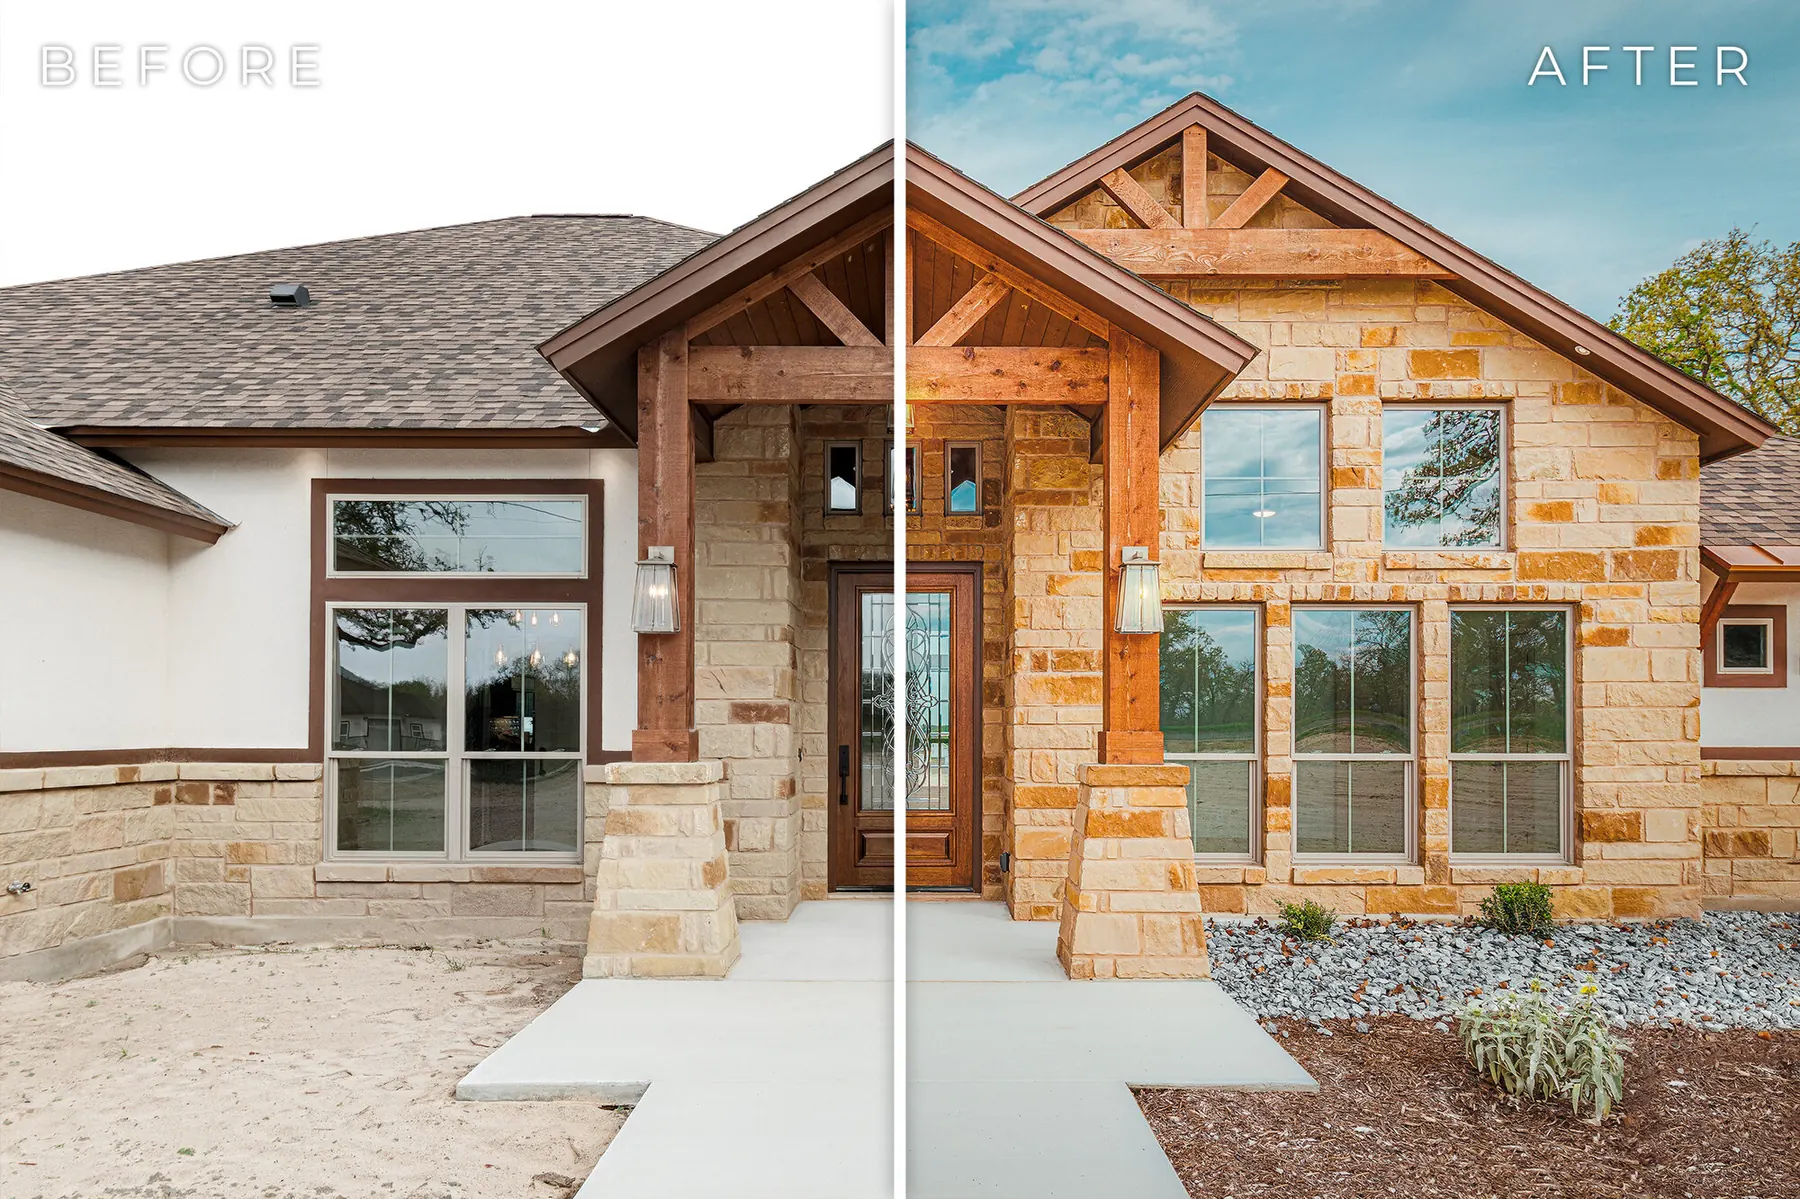
This is one exposure, processed two ways. The course teaches the version on the right — a repeatable edit that stays true to the architecture, the light, and the listing. No exaggerated color, no shortcuts. Just the discipline to finish what the camera started.
Course Curriculum
From equipment selection through final export — everything you need to shoot and edit a property, start to finish.
Results
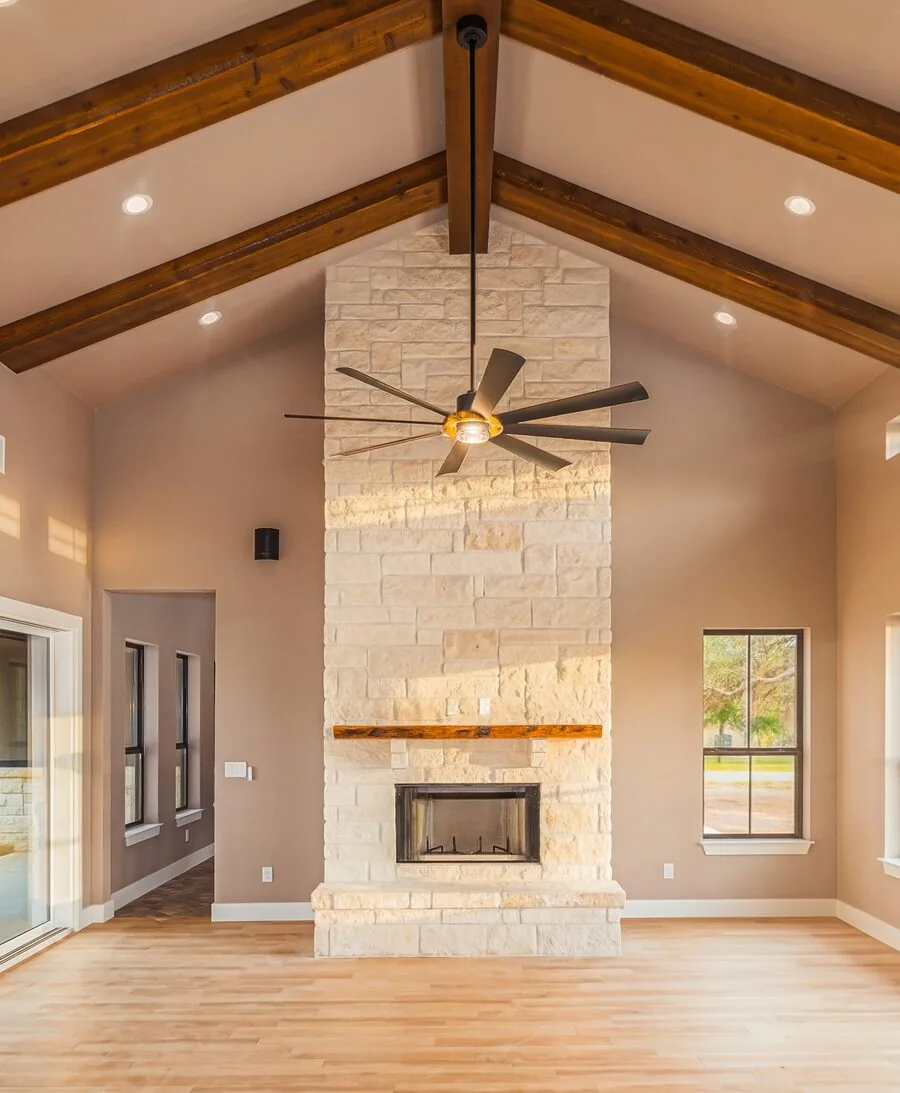
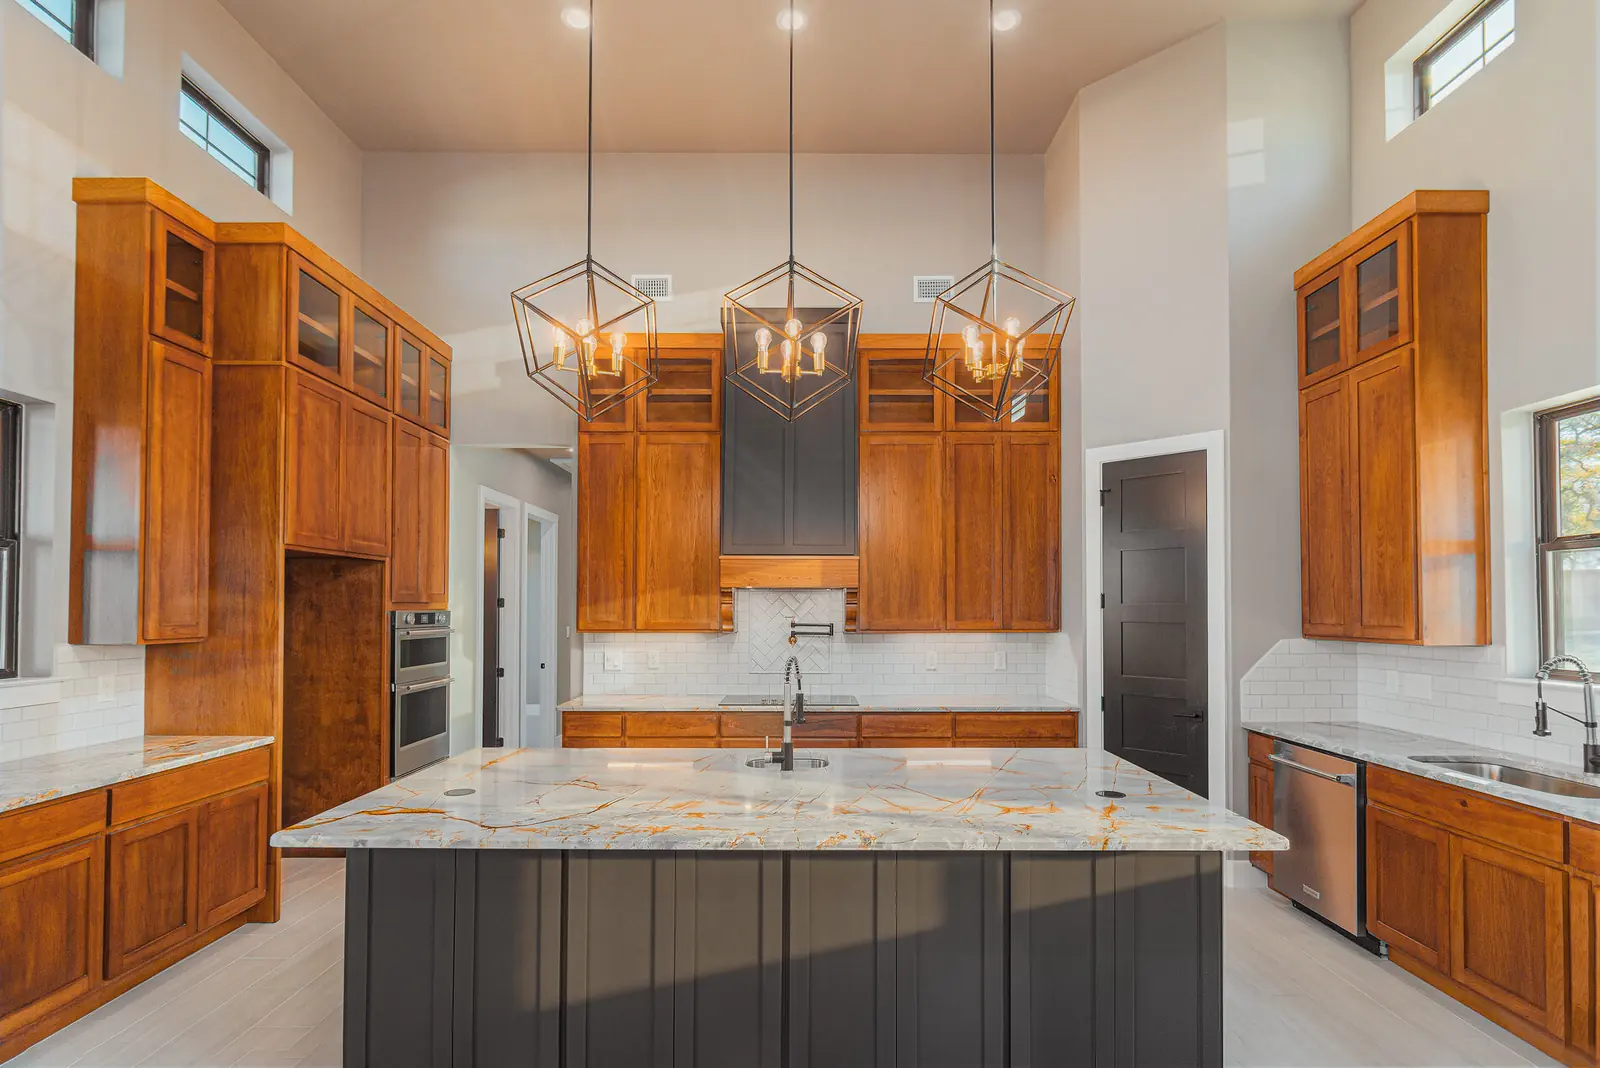
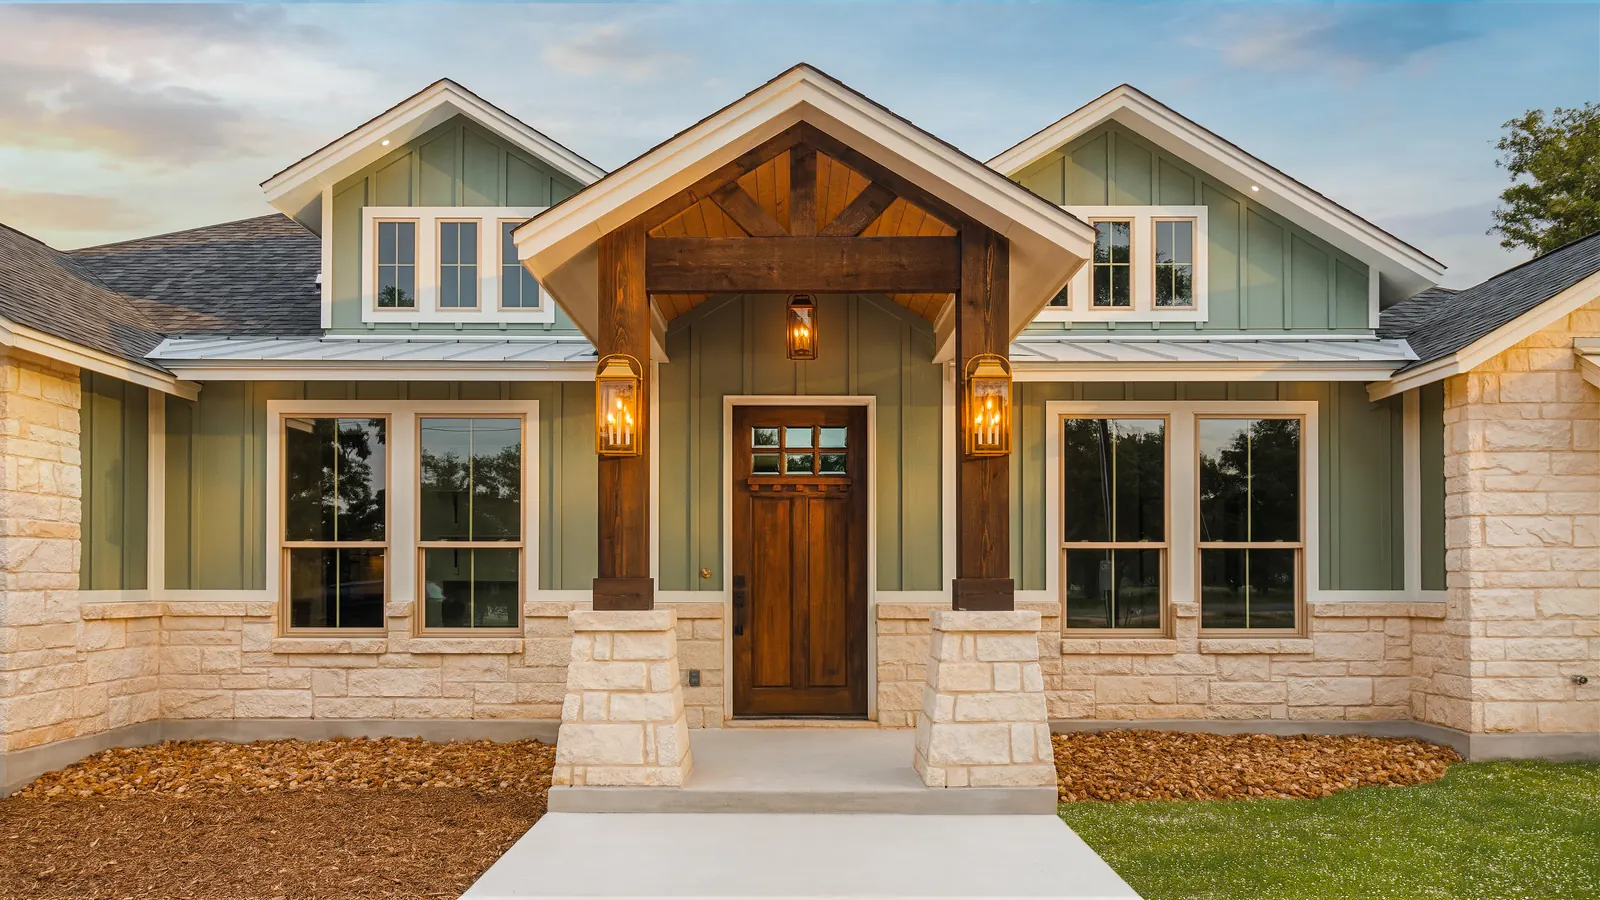
Hover any frame for the composition grid and capture data.
About the Instructor
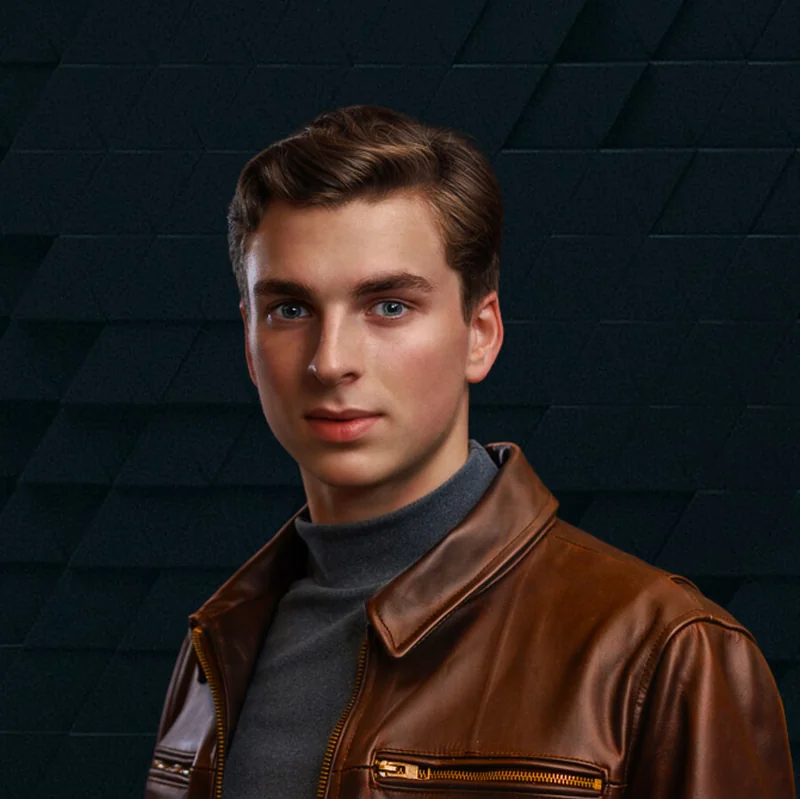
I started photographing homes at fifteen, drawn to images that felt as vivid as the space itself. What began as a hobby became a craft — and eventually, a business.
The hardest part was never the work. It was finding a straight answer in a field full of conflicting opinions and gimmick-driven tutorials. I spent years testing methods until I had a system I trusted.
Real Estate Photography Training is that system — tested, repeatable, and built for consistent results over occasional brilliance. My goal isn't rapid growth; it's a genuinely better standard for real estate imagery, one student at a time.
Enroll
ONE-TIME PAYMENT · LIFETIME ACCESS
Secure checkout via Payhip · Visa, Mastercard, PayPal, Discover